

Latch Hook Design Templates Videos
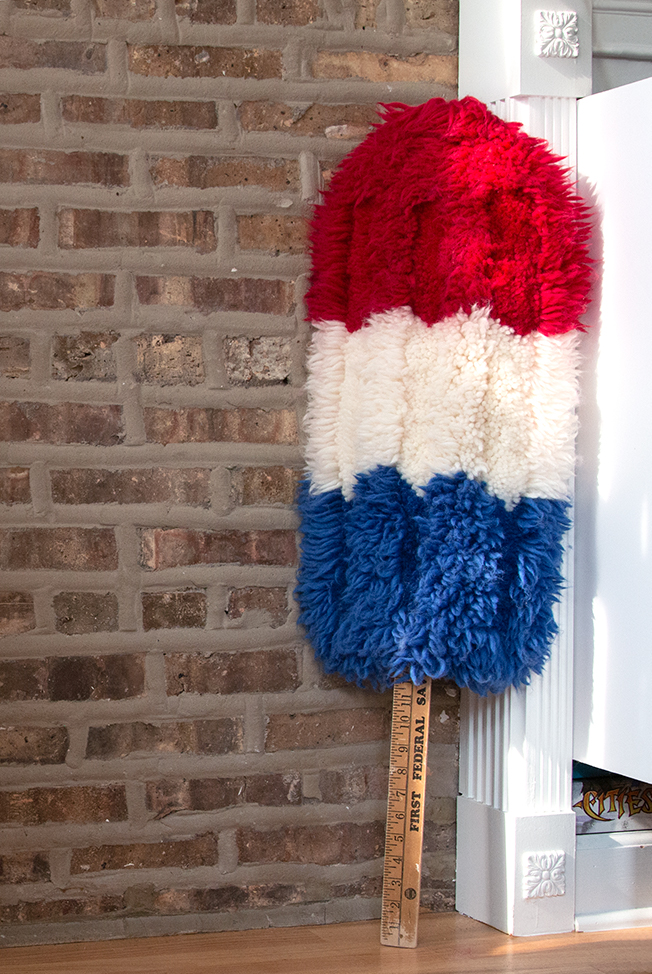
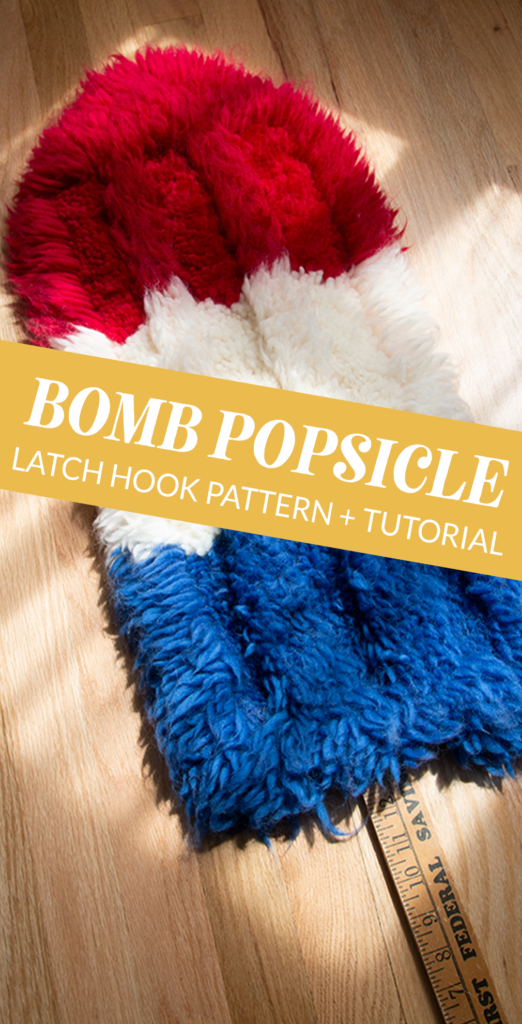
Welcome, friends! Particularly if you follow along on Instagram where I share behind-the-scenes and sneak peeks, you'll know this is post is a long time coming. My pattern and tutorial for how to latch hook a bomb popsicle-inspired wall hanging is here! All this summer, I've been using this project as my example in photos for how to finish latch hook projects, but I've only shown detail shots of the back (i.e. where a lot of the work happens in latch hook) before today. This rug project combines very patriotic bomb popsicle imagery with a vintage bank yardstick, resulting in an Americana-ish vibe that I'm digging. Back to school time must have me inspired to work with a school supply. :)
The Pattern
My latch hook patterns are designed following the Craft Yarn Council's Standards for yarn weight, and in the process of writing my latch hook book, I developed my pattern standards inspired by the CYC's. Sooner than later, I'll post a suggested latch hook pattern standards post explaining all of this, but for now this post is pretty meaty. On to the pattern!
Latch hook skill level: beginner
Hand sewing skill level: experience helpful
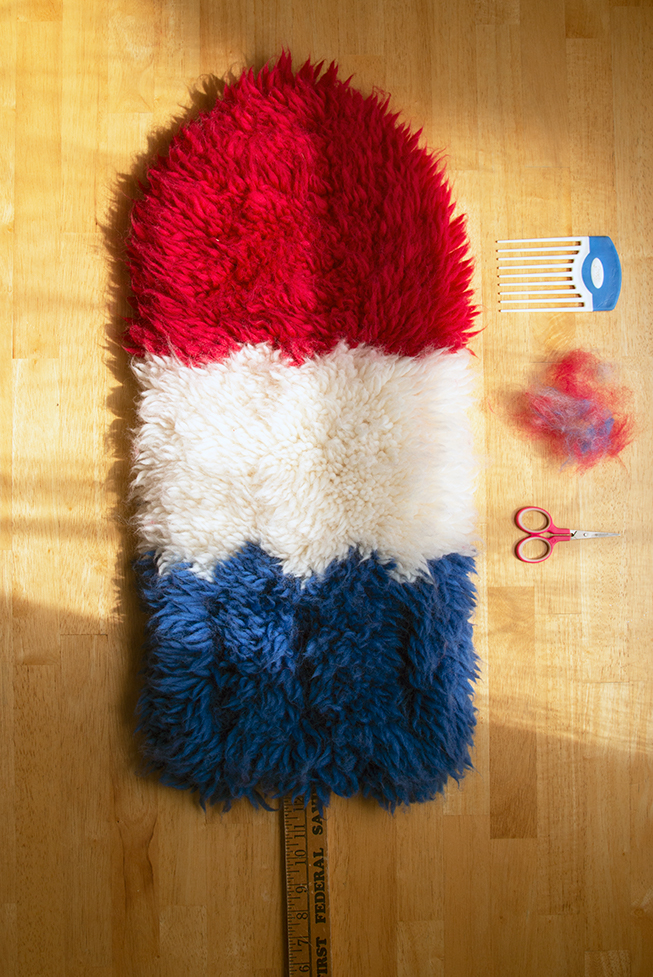
Finished project size: 9″ x 24″ without stick
Pile height: 1.5″ (before trimming)
Strand length: 3.5″
Strands per knot: one
Supplies
Patons® Classic Wool Roving® (100% wool; 100g/120yds): 1 skein each Aran, Cherry, and Royal
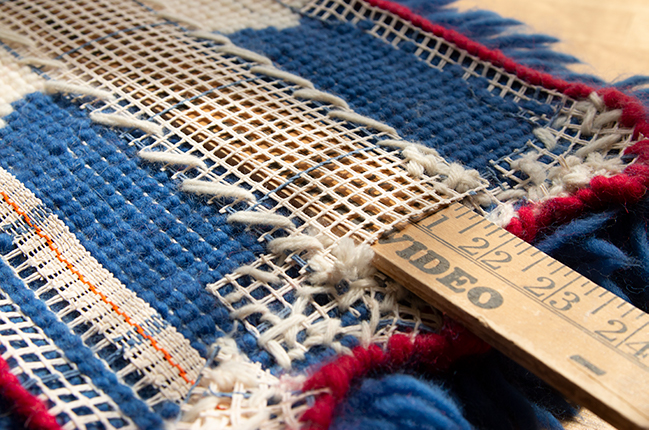
3.75 mesh rug canvas
Latch hook tool
Scissors
Tapestry (yarn) needle
This chart.
Yardstick (or dowel/stick cut to 36″)
Setup
To prepare your project, cut a 28 inch tall by 13 inch wide piece of 3.75 mesh rug canvas with twisted strands running vertically. (This will leave 2 inches of seam allowance on all sides.) Leaving aside extra Cherry yarn for finishing and binding, cut 3½ ̎ strands of each color of your project yarn. If you run out, you can cut more. Before you begin hooking, determine which finishing method(s) you will be using and prepare your canvas as needed.(Confused? New to some of this vocabulary? It's okay – see finishing & binding section below.)
Instructions
Lay out your canvas piece, ensuring vertical, twisted canvas strands are running vertically.
Start your project centered on the canvas, leaving a minimum of an inch of seam allowance on all sides. Holding a single strand of yarn per knot, latch hook the design following this chart. (Learn how to latch hook here.)
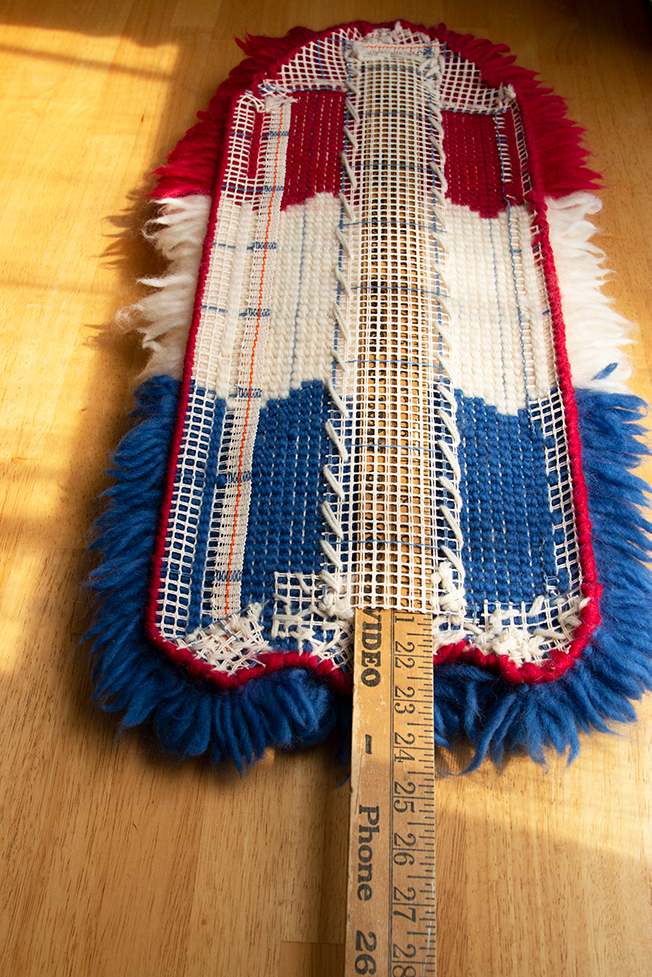
Once your project is hooked, hand finish your raw edges if you have not already done so. Then, following the instructions below, bind and trim your project. Rather than typical backing and hanging steps you often take at this point in a latch hook project, this one is completed with a yardstick, which is attached to the back of the rug by creating an upside down pocket of rug canvas before inserting the yardstick. Read on for instructions.
Finishing & Binding Notes
As you'll see in my upcoming book Latch Hook: 12 Projects for the Modern Maker, the final steps in making any latch hook project can vary widely, particularly when you make projects that are not simple square or rectangular rugs or pillows. The final steps can be as easy as finishing raw canvas edges as you work or as complicated as combining square and non-square finishing techniques as well as troubleshooting how to navigate finishing the nooks and crannies of a complex polygon edge.
As mentioned, this was the project used in my tutorials on different methods for latch hook finishing, so it should come as no surprise that I'm directing you to the following tutorials for finishing and binding this rug:
- Finishing the straight edges: how to do square latch hook finishing
- Finishing the curved edges: how to do non-square latch hook finishing
- Finishing the zig-zagged edges: how to finish nooks & crannies in latch hook
- To bind all edges: whip stitch binding in latch hook
Trimming
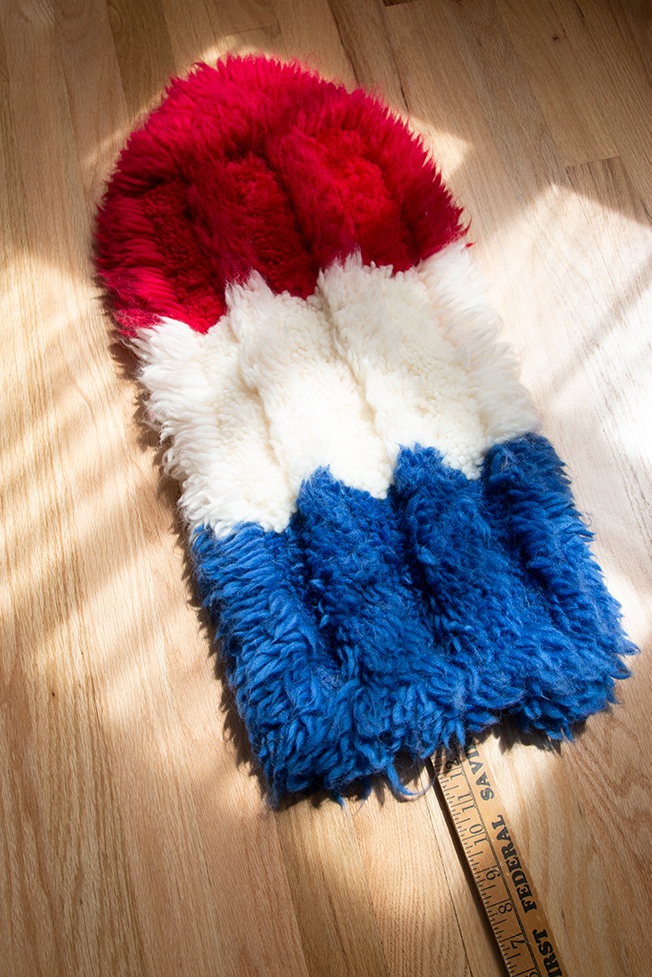
Once you have completed the hooking, finishing and binding steps, it's time to trim! With this project, you can give your rug an all over, even pile. Given the colors and shape, it is still a successful popsicle no matter if you do detailed trimming or not – the choice is yours. However, trimming three evenly-spaced valleys into the rug as shown in the finished photos gives it the look of a popsicle created in a mold.
I can't really give you too many trimming tips beyond "cut at it til it looks good," but I do plan on putting together a trimming tips and tricks video in the future, so if you have any specific questions you think I should cover in the video, please drop me an email or leave a comment on this post. It's appreciated!
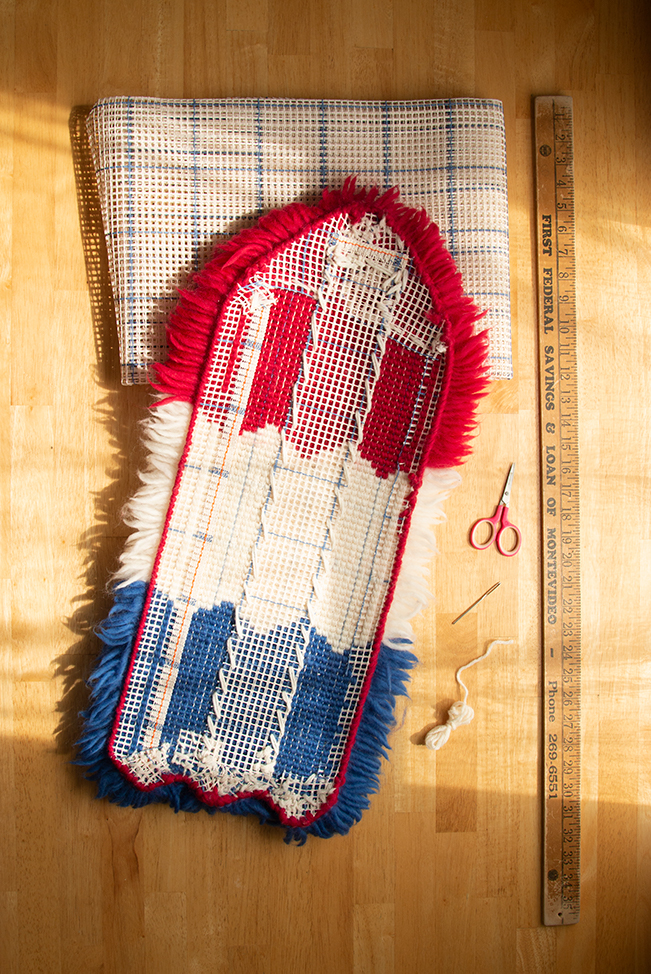
How to incorporate a yardstick (unique to this latch hook project)
If you don't have a yardstick, dowels or scrap wood can be substituted in this step.
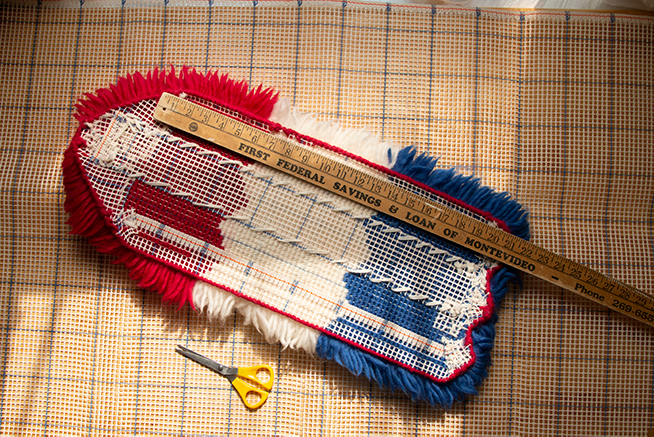
Using your yardstick as a guide, cut a piece of rug canvas that is a bit wider than the yardstick but a couple inches shorter than your rug. Thread a tapestry needle with worsted weight yarn held double, and knot the end to the back of your work. Place the scrap canvas centered at the back of your work.You may optionally use clothespins or sewing clamps to hold your scrap canvas in place as you sew. Using whipstitch (or whatever suits you), stitch the canvas scrap to the back of your work on the left, top and right sides. Leave the bottom open. When your canvas has been sewn on, you may insert your yardstick into the "pocket" you just created.
Backing & Hanging
This latch hook project doesn't necessarily require backing unless you anticipate the back of it receiving a lot of wear and tear. Since this pattern & tutorial is getting a little long, hanging will be covered in a future post! :)
Happy Latch Hooking!

Heidi Gustad is a craft book author & content creator in love with primary colors & vintage vibes. She specializes in knitting, crochet, latch hook and macramé, and her first book, Latch Hook: 12 Projects for the Modern Maker, is out now!
Reader Interactions
Latch Hook Design Templates Videos
Source: https://www.handsoccupied.com/bomb-popsicle/
Posted by: dominguezwhiliver.blogspot.com
0 Response to "Latch Hook Design Templates Videos"
Post a Comment